Today I’m welcoming Taylor from Goings on in Texas. She is so sweet and I have really enjoyed getting to know her. I know you will too. She is going to give us a great DIY! I hope you ladies enjoy and show her some bloggy love!
Welcome, Taylor!
****************

Hey Southern Sunflowers & Coffee Beans Readers! I’m Taylor and I blog over at Goings on in Texas. I am so excited to be Guest Posting for Logan and sharing this Burlap Wreath tutorial!! 🙂
But first here’s a bit about me…
I am a Petroleum Landman, Certified Personal Trainer, Used Car Lot Owner, Landlord, Christ follower, Entrepreneur, Crafter, DIYer, Cook, Organizer, Gardener, Traveler, Singer, Book-a-holic, Shoe Lover, Talker, Wife and probably a whole lot more, but that paints you a picture, I’m sure. 😉 I blog about my life and everything in between. I hope you’ll follow me on my blogging journey! 🙂
So, the other day (well, actually like a couple of weeks ago) I posted on my Instagram account {follow me: skichic95} a Burlap Wreath that I “whipped” up. And seriously. It was my first ever attempt at this wreath. And let me tell you….SUPER SIMPLE!!
And y’all it’s time for you to learn this SUPER SIMPLE wreath!! 🙂
You.are.welcome. 😉 LOL
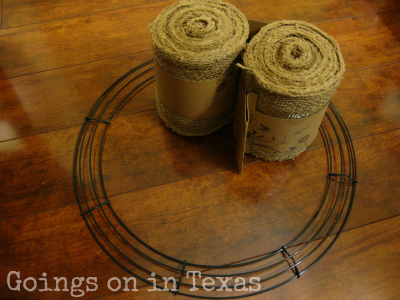
Here’s what you’ll need:
Wreath Form (I picked up mine at Hobby Lobby for $2.99. It’s the middle size, I think 12 inch in diameter.)
Burlap (I picked up these 2 rolls from Michaels for $5.99/each. Each roll is 10 yards. I didn’t quite use the entire 2nd roll.)
Okay, time to start crafting…
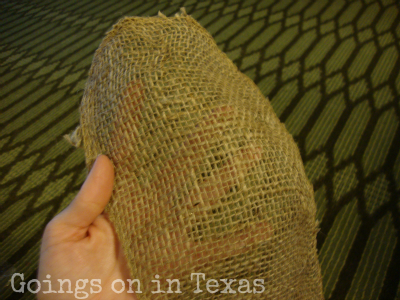
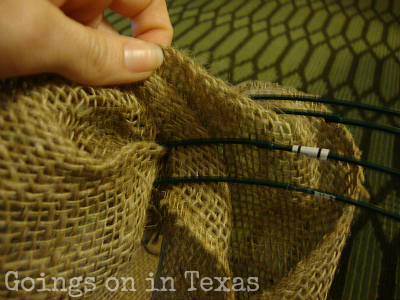
Start by taking the end of your burlap…

and making a loop. Your first loop needs to be about 4-5 inches tall (so 8-10 inches total from the end of your burlap).

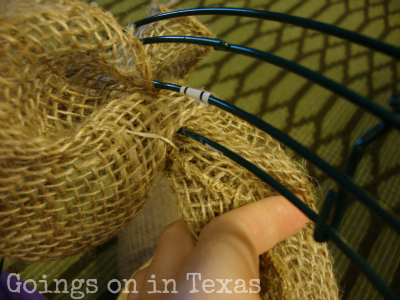
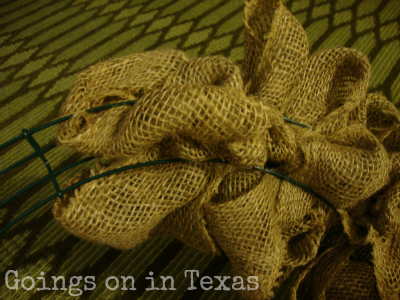
Now take the very center of your loop and pinch it and then push it through the lower space in the wreath form.

Then once you get it through (leaving an inch or so on the other end), puff it back up with your fingers.
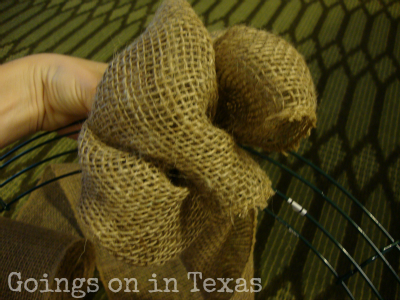
Now, after your first loop is through and puffy to your liking, twist the burlap tail a bit (like you are going to ring out a towel)…
and then push some more burlap through the middle space in the wreath form. You don’t have to create another loop on the bottom side before pushing through the hole. Just push the burlap as it is using one of your fingers and then pull it and start shaping it the way you want.
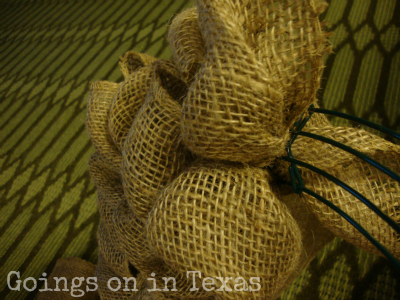
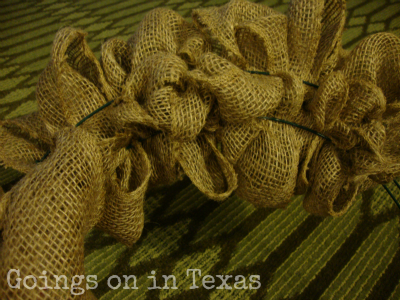
Continue with this twisting, pushing through and puffing up the burlap. You don’t have to twist the burlap each time before you create a new loop, only when you feel that the burlap is all going in the same direction. This is what it looks like with 3 loops through each layer within the form.
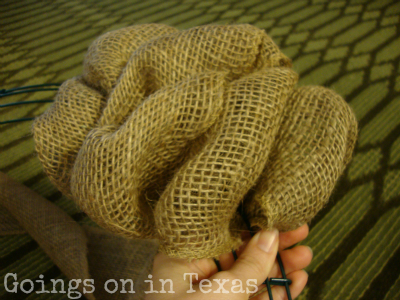
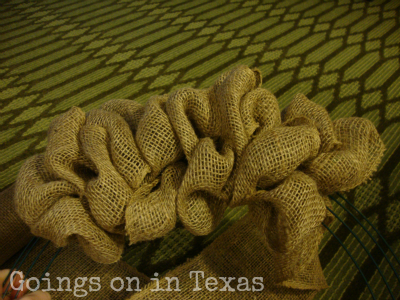
After 6 loops…just keep on looping. Squish each loop down (counterclockwise) so you can squeeze more loops within each section of the wreath. You want to alternate lower, middle, upper, middle, lower…or however you want to make it look so that you can’t see any of the green wreath form.
This is what the back side looks like.
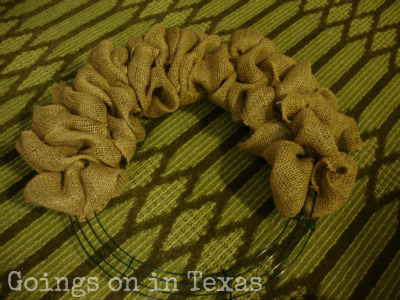
It’s 2/3rds finished and now it’s time to start the next burlap roll!! 🙂
The backside with a little tail showing from the tail end of the burlap roll. Simply start the next roll exactly how you started the first one.
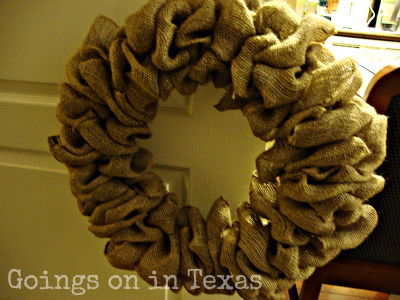
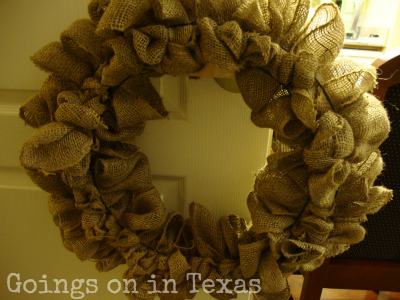
The front of the finished Burlap Wreath!!
The back of the finished Burlap Wreath!!
SUPER SIMPLE right?!?! It takes me less than 30 minutes to complete one wreath. Once you are finished, time to embellish it!! I plan on adding my last name initial on one side and then thought about putting some velcro on the other side so that I could change out the seasonal items…so one wreath for the entire year.
The embellishment ideas are endless! So be creative and most of all have fun!! 🙂 Now go get your supplies!! 🙂 And come back and link up your finished product or tag me so I can see your creation!! 🙂
Until next time…


That is such a fun and easy project! I love burlap because it is seasonal for any time of year. Thank you for posting this great DIY, Taylor! I hope you all go check out her blog!

Love it!!!!!!
I have been wanting to make a burlap wreath but had no idea where to start. Thanks for sharing!!!
OOo love it! Burlap is growing on me! There's something really… rustic? about it?! 😛
how awesome!! now i know what my weekend project is!
Thanks for letting me guest post, Logan!! You are awesome!!
that wreath is amazing!!! seriously love, and love taylor!
so cute!! and yay Taylor, I love her blog 🙂
Pretty awesome tutorial!!
Newest follower, following from Thumping Thursdays. 🙂
xo sandra
http://larasvintage.blogspot.com/