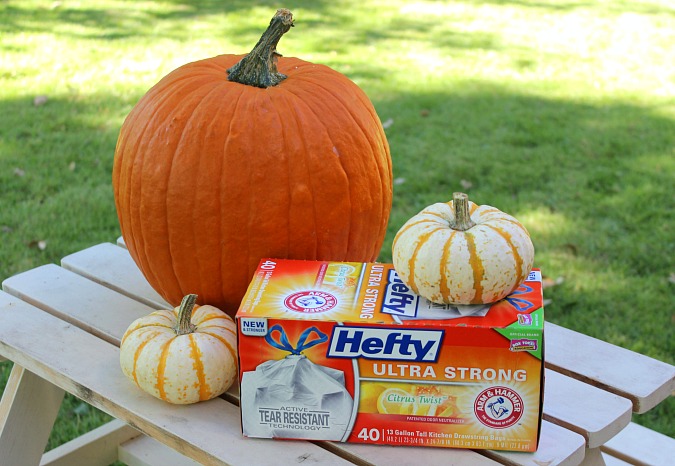
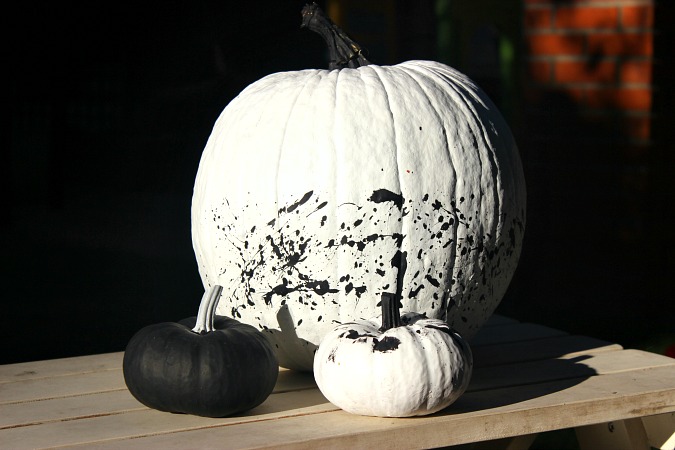
It is officially my favorite month (technically a week in already) and we are just now starting on our fall bucket list! Better late than never, right? We have a really full next couple of weeks with lots of fun things going on including the pumpkin patch, holiday market, Ryan’s birthday, our anniversary, family coming to visit, etc. We are so excited for all of the fall fun to be had! We will be celebrating Hampton’s 3rd birthday, welcoming our new baby boy and moving into our new house at the end of this month/first week of November, so we have a lot to get in these next two weeks starting with a fun little pumpkin craft! These DIY splatter paint pumpkins were so much fun to make, and the whole family got in on it!

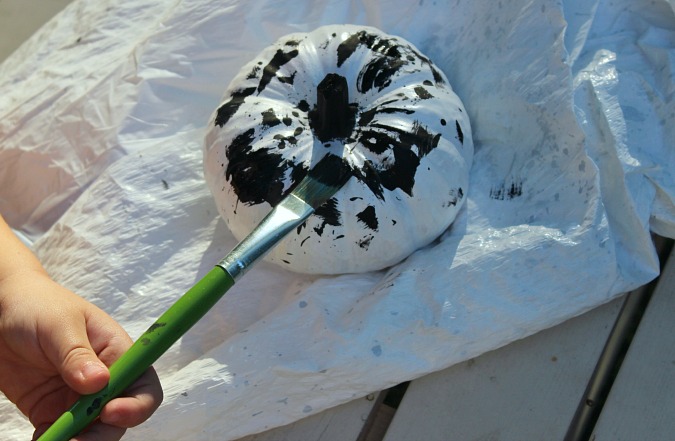
My nephew helped me paint the big pumpkin white, then my brother and Hampton helped me splatter the paint on the pumpkins after I covered them with Hefty Ultra Strong Kitchen Trash Bags with Arm & Hammer Odor Control. I will say that painting with two little boys is no easy task. Sometimes I feel like I need John Cena out there with me to help wrestle them.
Here is how we made the DIY splatter paint pumpkins:
First, lay a Hefty Ultra Strong Kitchen Bag on the surface you are painting on to protect it.
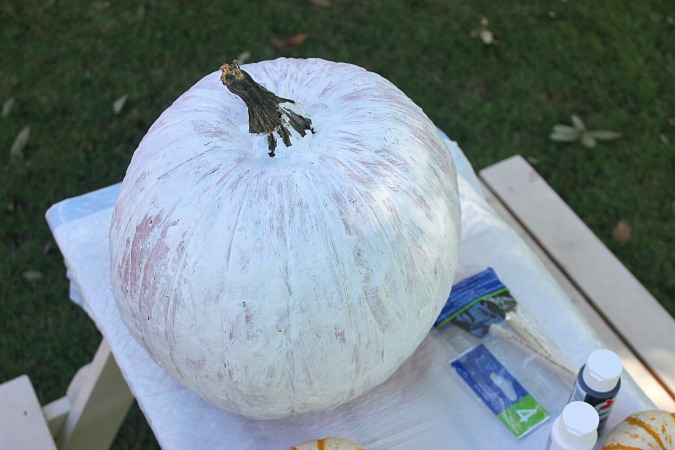
Second, paint the entire pumpkin white or black. After it dries, you will probably need to do a second coat.
Third, paint the stem the opposite color.
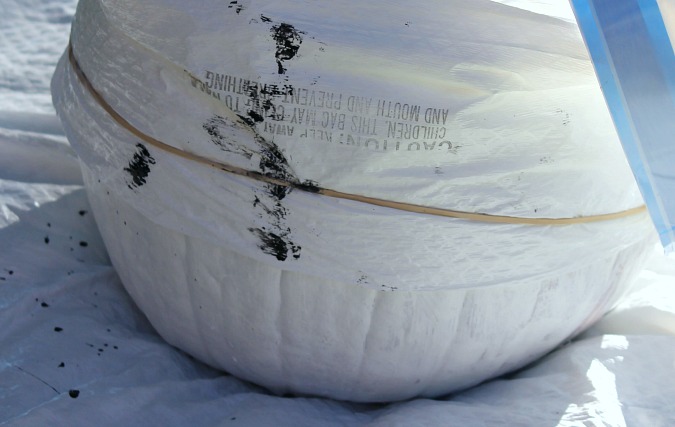
After the pumpkin completely dries, cover the top half with a Hefty Ultra Strong bag and rubber band to hold it in place. Put a little water on your paint brush and add it to the paint to help it splatter easier, and then begin to sling paint on the pumpkin. Have fun with it!
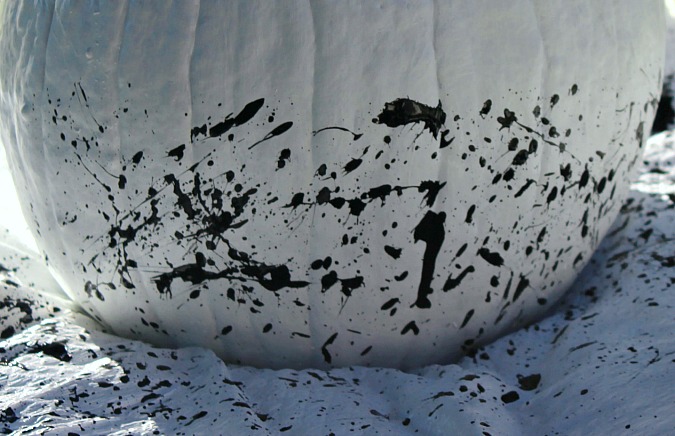
Take the bag and rubber band off of the pumpkin and let it dry.
It is a really easy DIY, but it does take a couple of hours because you have to wait for the pumpkins to dry completely before beginning the next step.
The kids enjoyed playing in between our painting and it was a really fun afternoon to spend with the family doing something we all enjoy! Of course, I couldn’t have done it as neat with those boys “helping me” if it had not been for Hefty! We bought our Hefty Ultra Strong Kitchen bags in citrus twist scent and I love them because they have Arm and Hammer patented odor neutralizer and are the best bag Hefty has ever made at a lower price! They have active tear resistant technology for superior strength and have a break resistant grip drawstring. I am happy to report that not one drop of paint got on my white table, so I am a happy camper! Hefty was there to protect my table, and it was there for the big clean-up afterwards! We are also starting to pack a few things to get ready for our big move, and we have already filled a couple of bags with pillows and blankets for easy transport! There is no end to their usefulness. Be sure to get your $1 off coupon here!
These are so cool! I’ll have to pin them for later, I’m coming across SO many fall/halloween crafts I want to try! Thanks for sharing. *thegoodthingscomin.wordpress.com
THESE are coolest pumpkins I’ve seen! I have to make these.
So many uses. Love splatter paint idea
They turned out great, what a cute idea! May just have to do this to my pumpkins.
Such a creative idea! The pumpkins look great!
How fun! I love decorating with pumpkins!
So cute! We are actually getting pumpkins this weekend to decorate..thanks for the ideas 🙂
I love this DIY! Pumpkins are my favorite and white and black are so chic 🙂
How cute are those?! I love the idea of splatter painting them. So unique.